Firmware Update
The Landmark Precision Landing System firmware is stored on the microSD card inside the module. Firmware updates are installed by writing the latest Landmark system image to the microSD card.
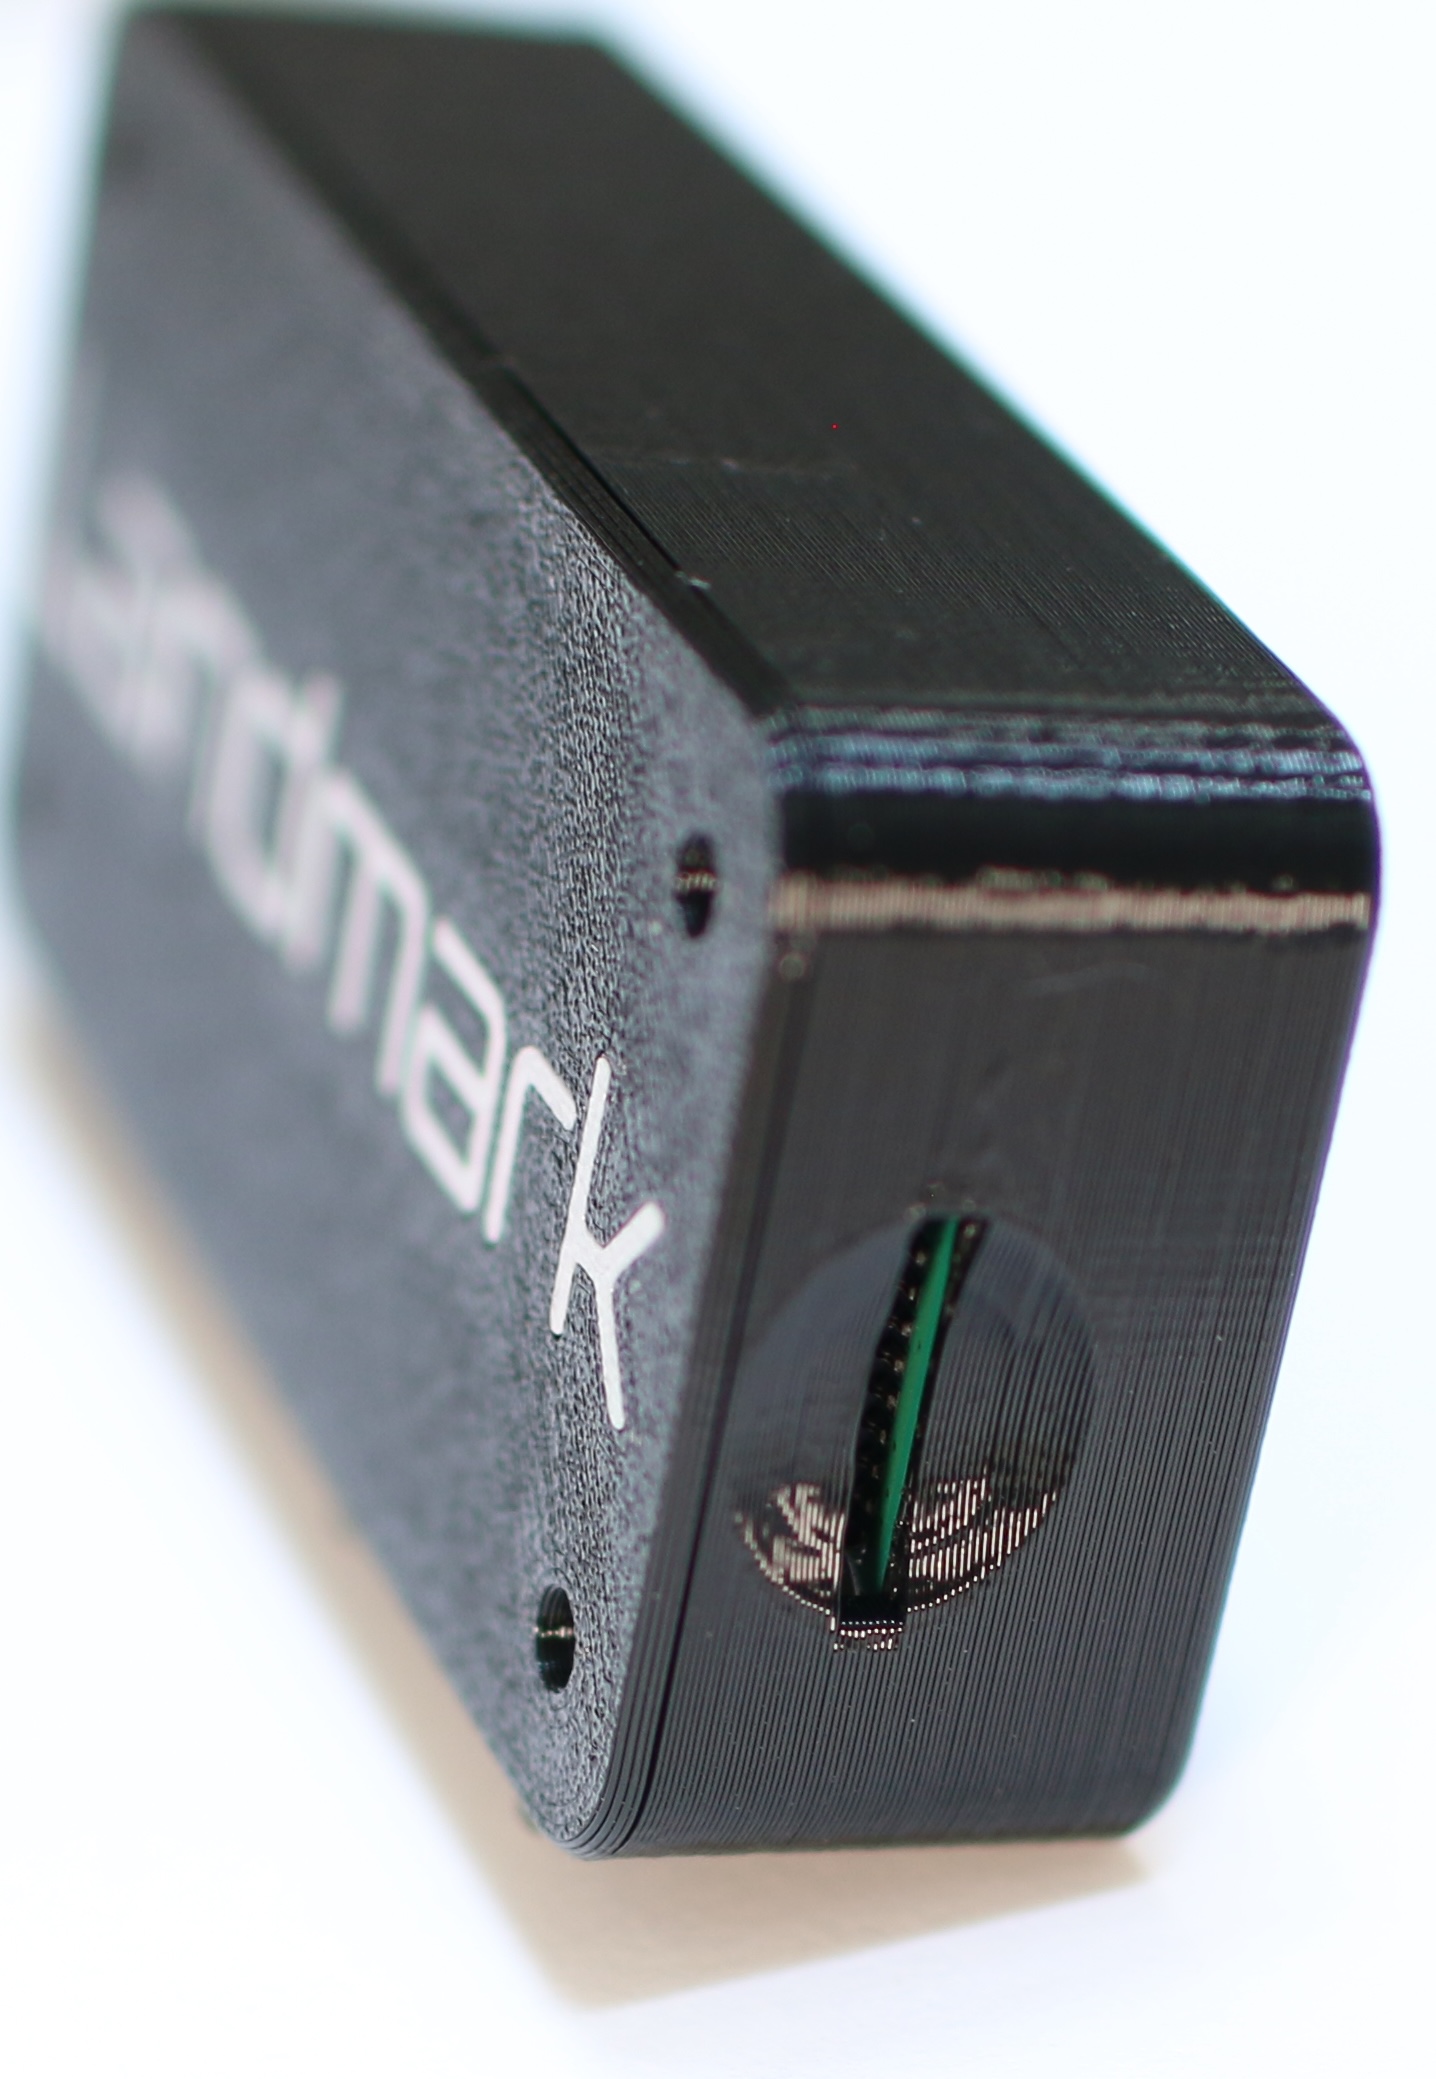
MicroSD card slot on the Landmark module.
Check Firmware Version
Firmware v1.1.0 and later reports the firmware version at startup.
If no firmware version is reported at startup, the module is likely running firmware v1.0.0. Landmark modules purchased before June 4, 2026 shipped with firmware v1.0.0.
Update Procedure
When upgrading from firmware v1.0.0 to v1.1.0 or later, the default enabled landing target changes from A4 Max and Fibonacci to Bullseye.
A4 Max and Fibonacci targets remain compatible, but they are not enabled by default. Before flying, either use the Bullseye target or configure your existing landing target.
-
Remove the microSD card from the Landmark module and insert it into a computer. A volume named bootfs should automatically mount.
Back up files before updatingWriting the firmware image will erase the entire microSD card. Back up the license file, custom landing target files, and any user configuration before continuing.
-
Copy the applicable files from the microSD card to your computer:
- License file
- Firmware v1.1.0 and later:
bootfs/landmark/license.json - Firmware v1.0.0:
bootfs/landmark_license.json
- Firmware v1.1.0 and later:
- Custom landing target files, if applicable
- Firmware v1.1.0 and later: custom JSON files in
bootfs/landmark/landing-targets/ - Firmware v1.0.0: custom JSON files in
bootfs/marker_layouts/
- Firmware v1.1.0 and later: custom JSON files in
- User configuration, if you changed any settings
- Firmware v1.1.0 and later:
bootfs/landmark/config.toml
- Firmware v1.1.0 and later:
- License file
-
Download the latest Landmark firmware image from GitHub Releases.
-
Download, install, and open Raspberry Pi Imager.
-
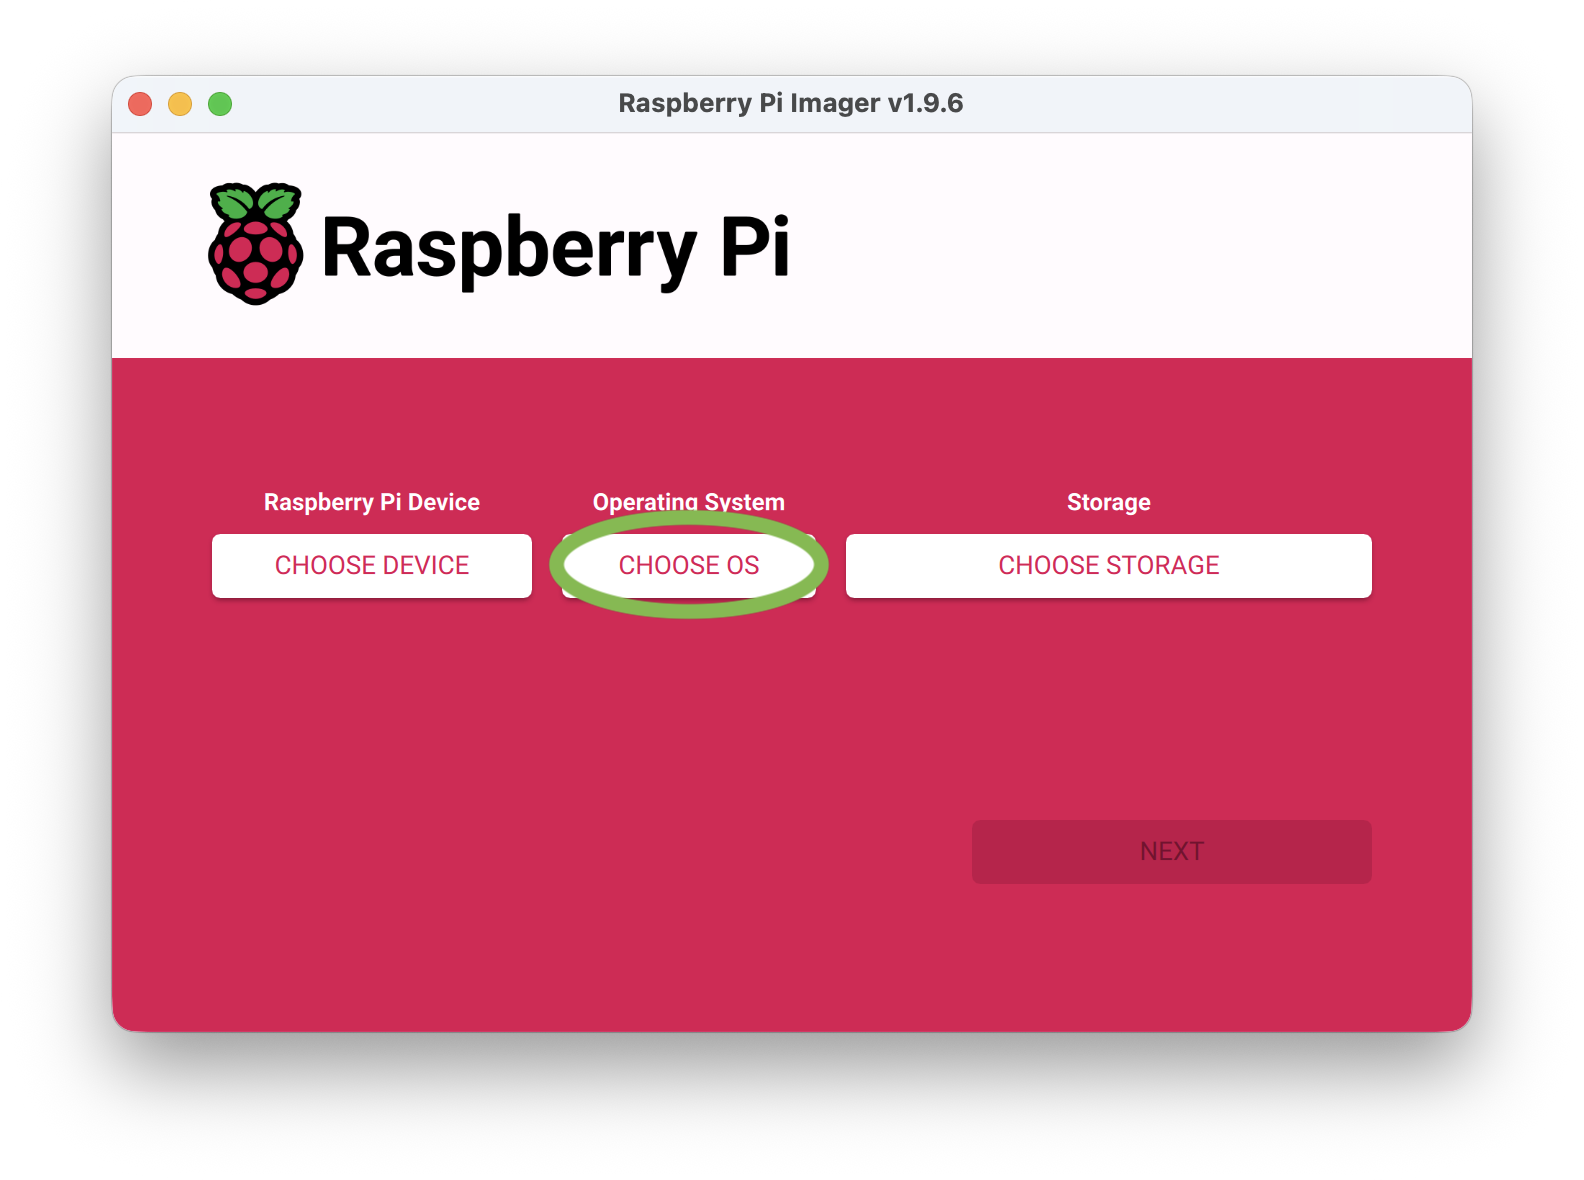
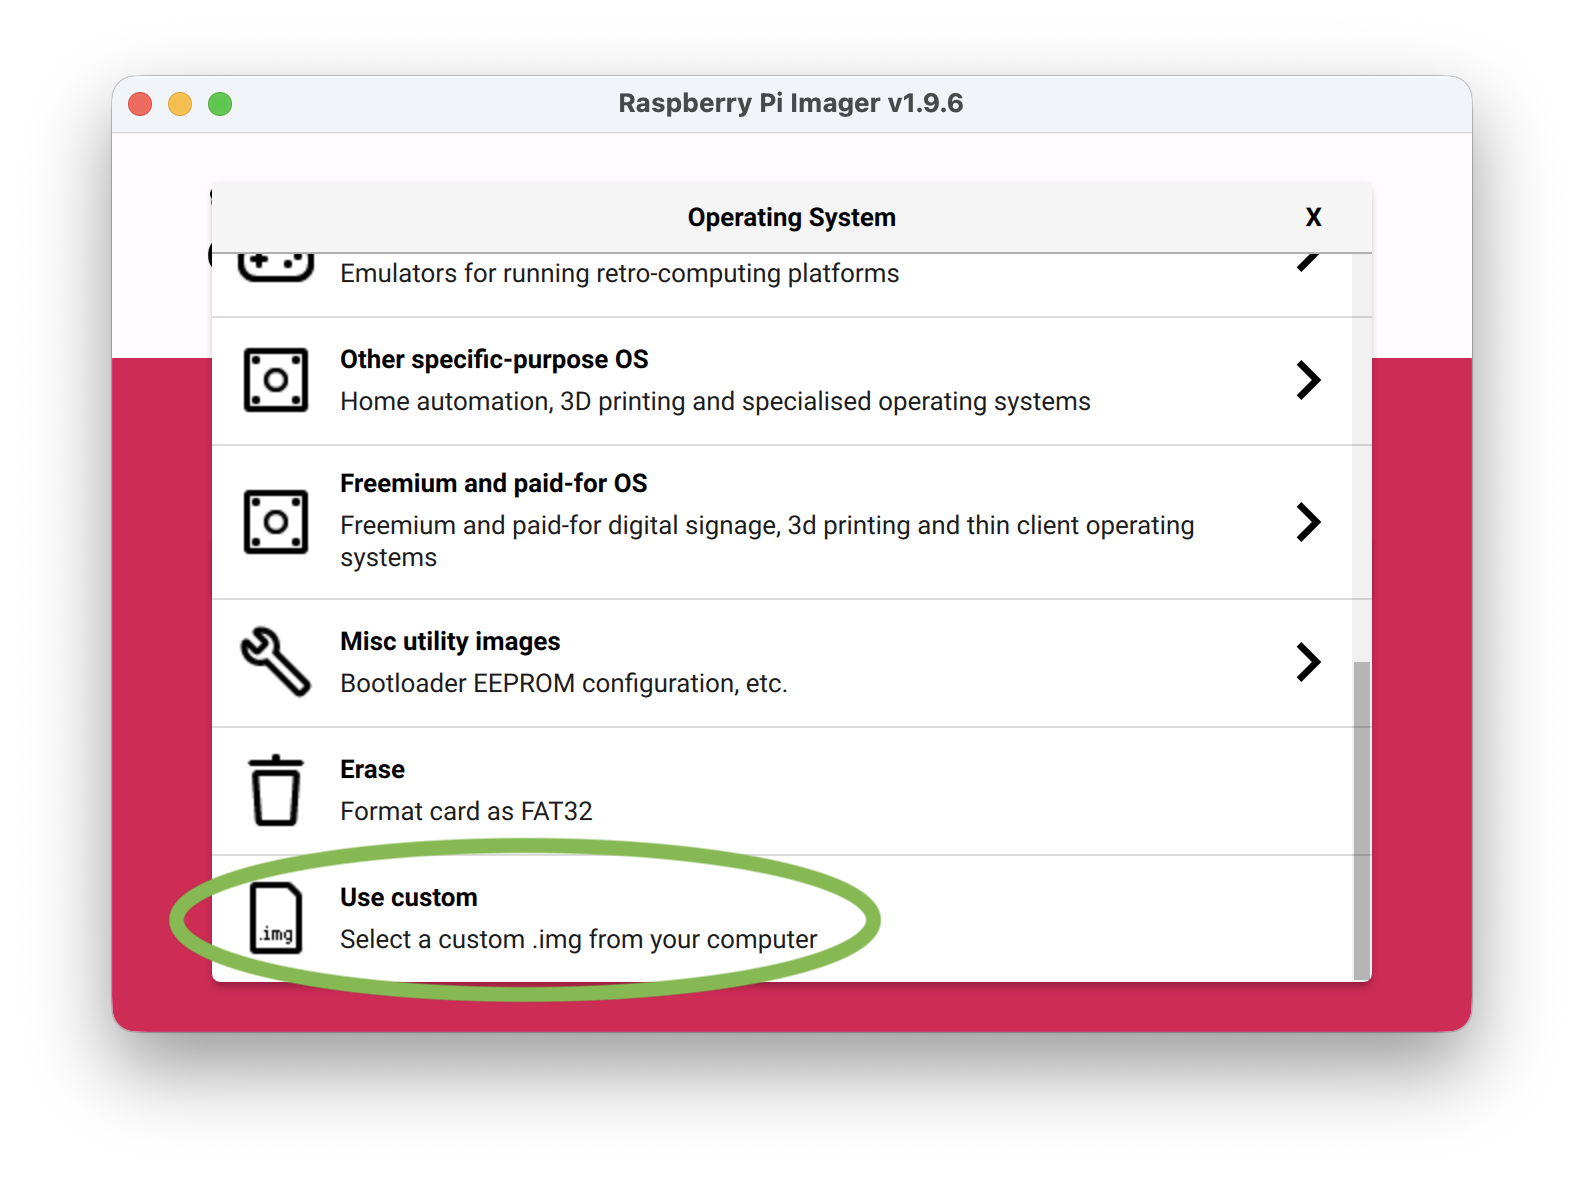
In Raspberry Pi Imager, click CHOOSE OS, then select Use custom.
-
Select the downloaded Landmark firmware image.
-
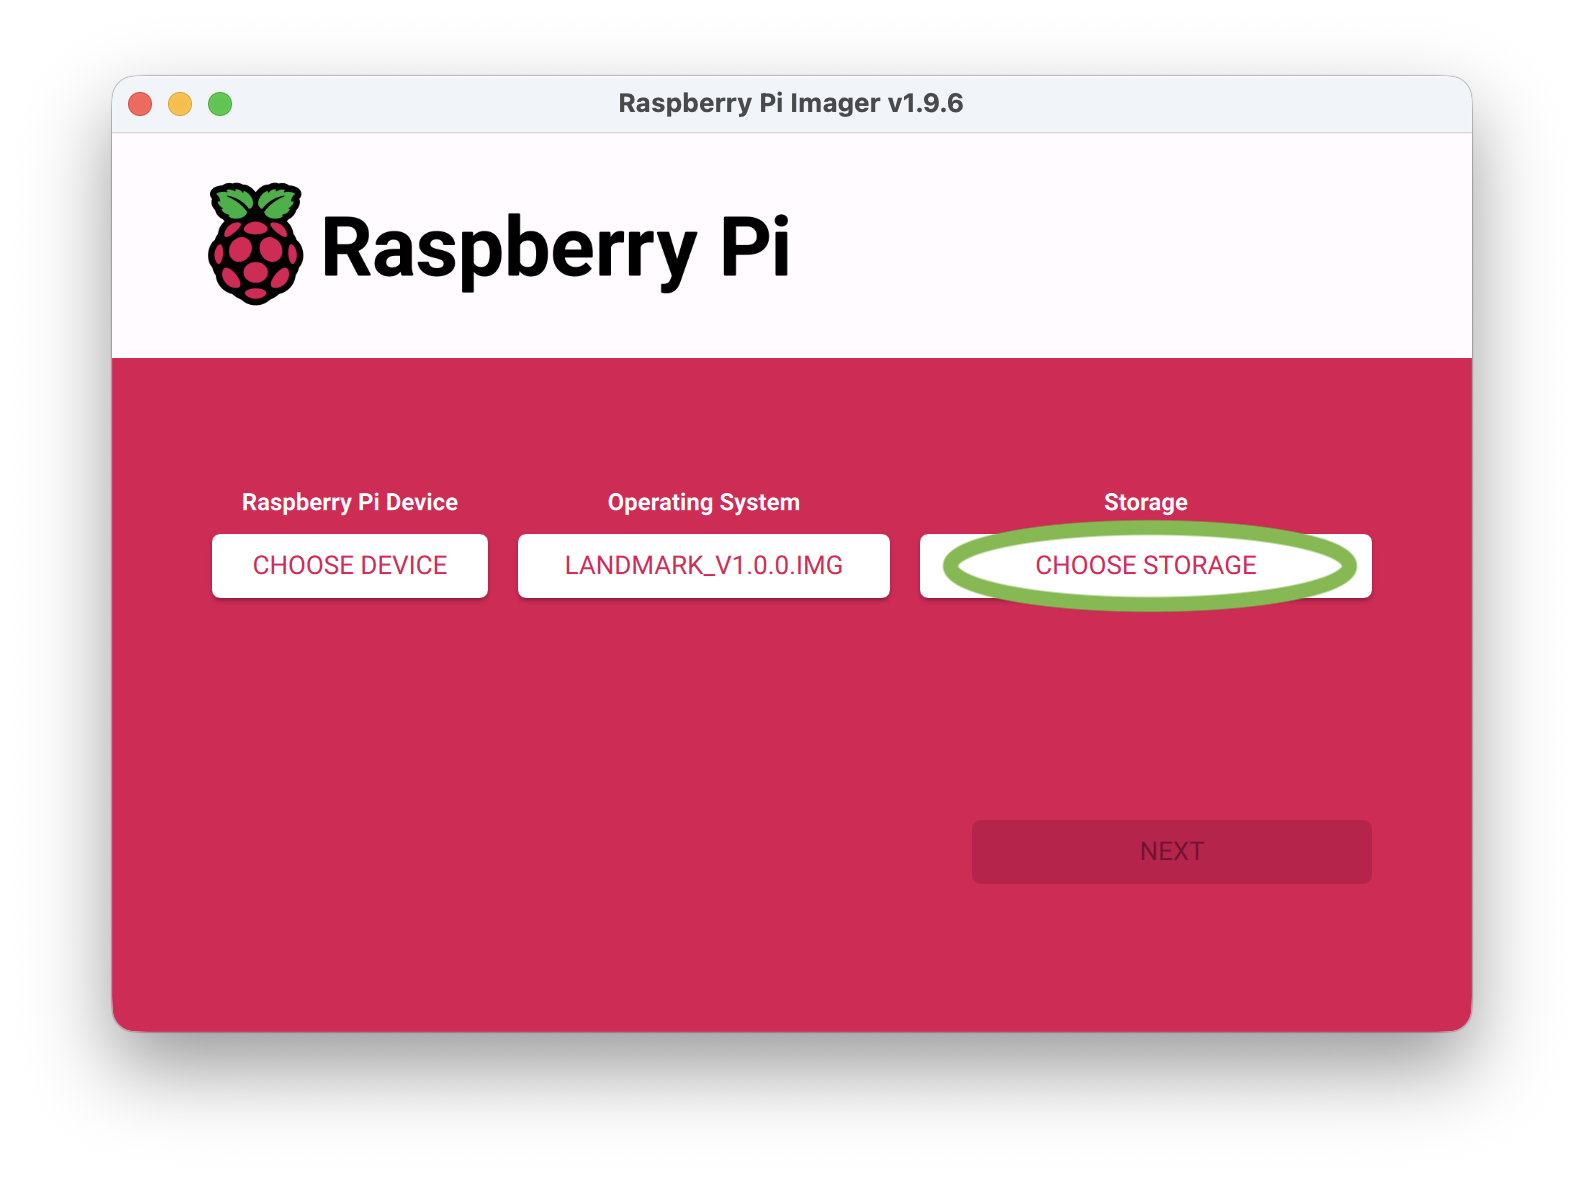
Click CHOOSE STORAGE and select the Landmark microSD card.
-
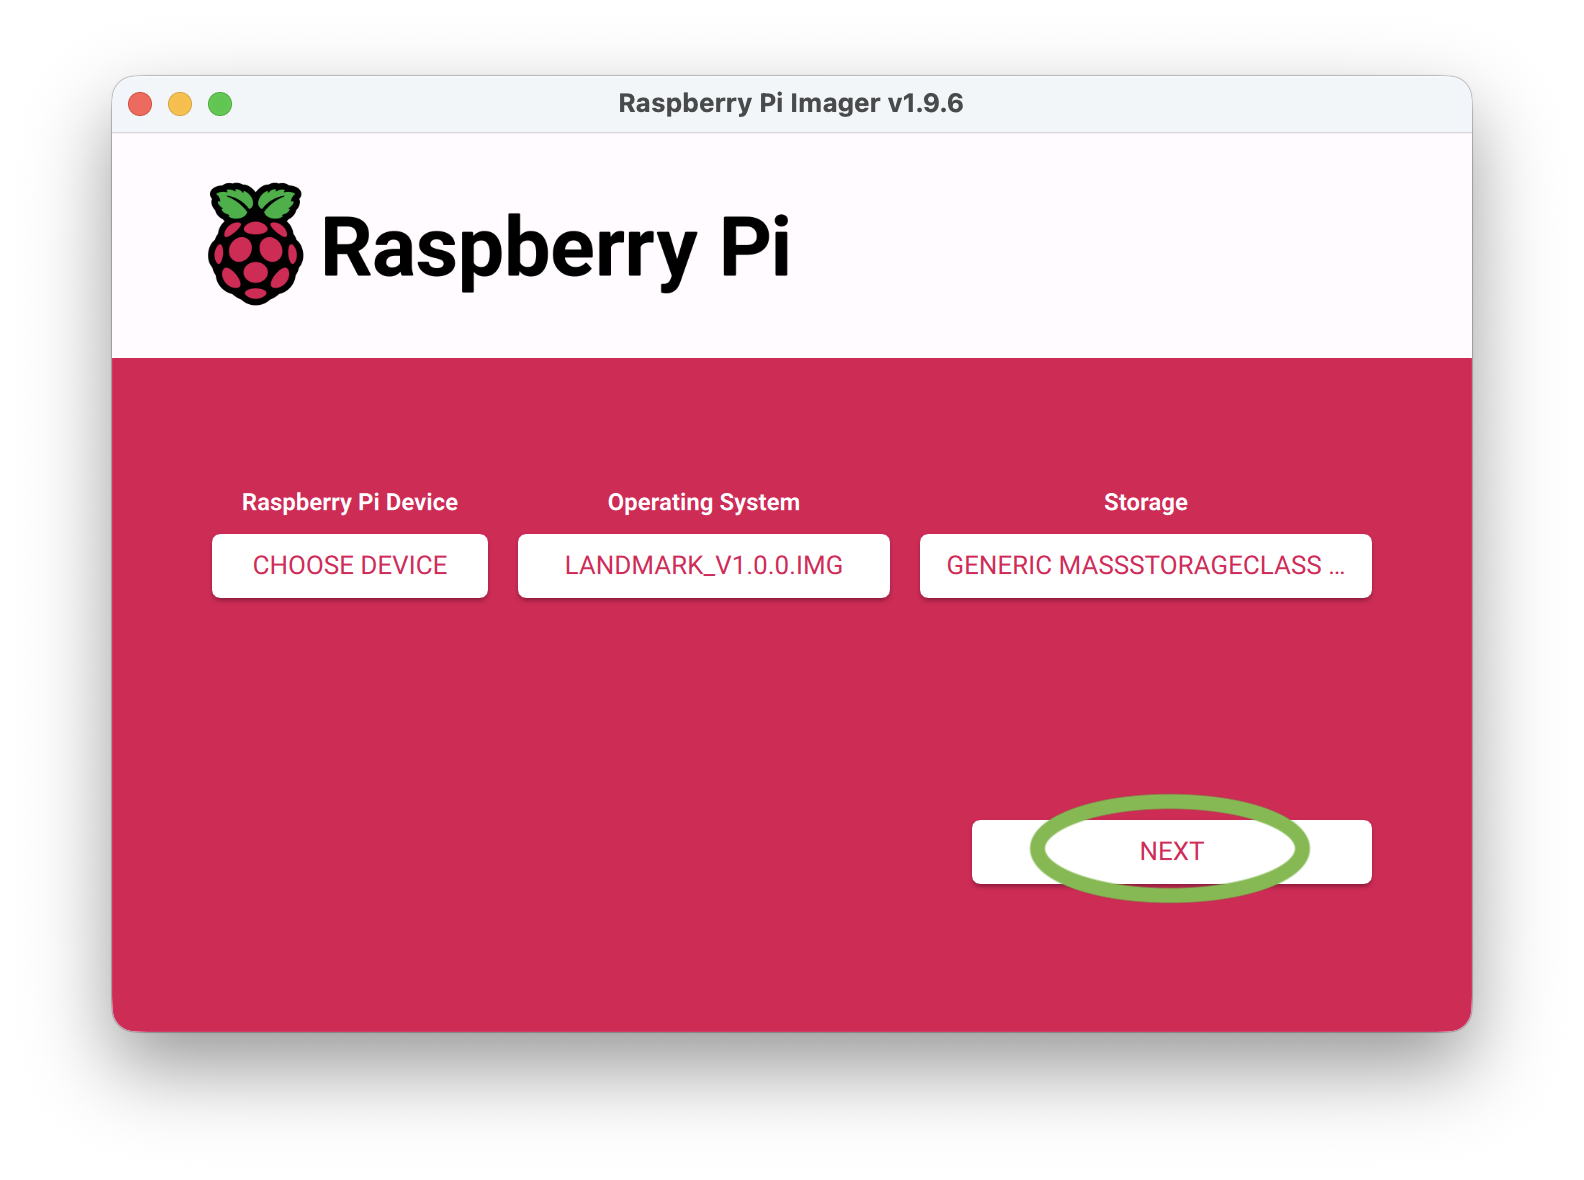
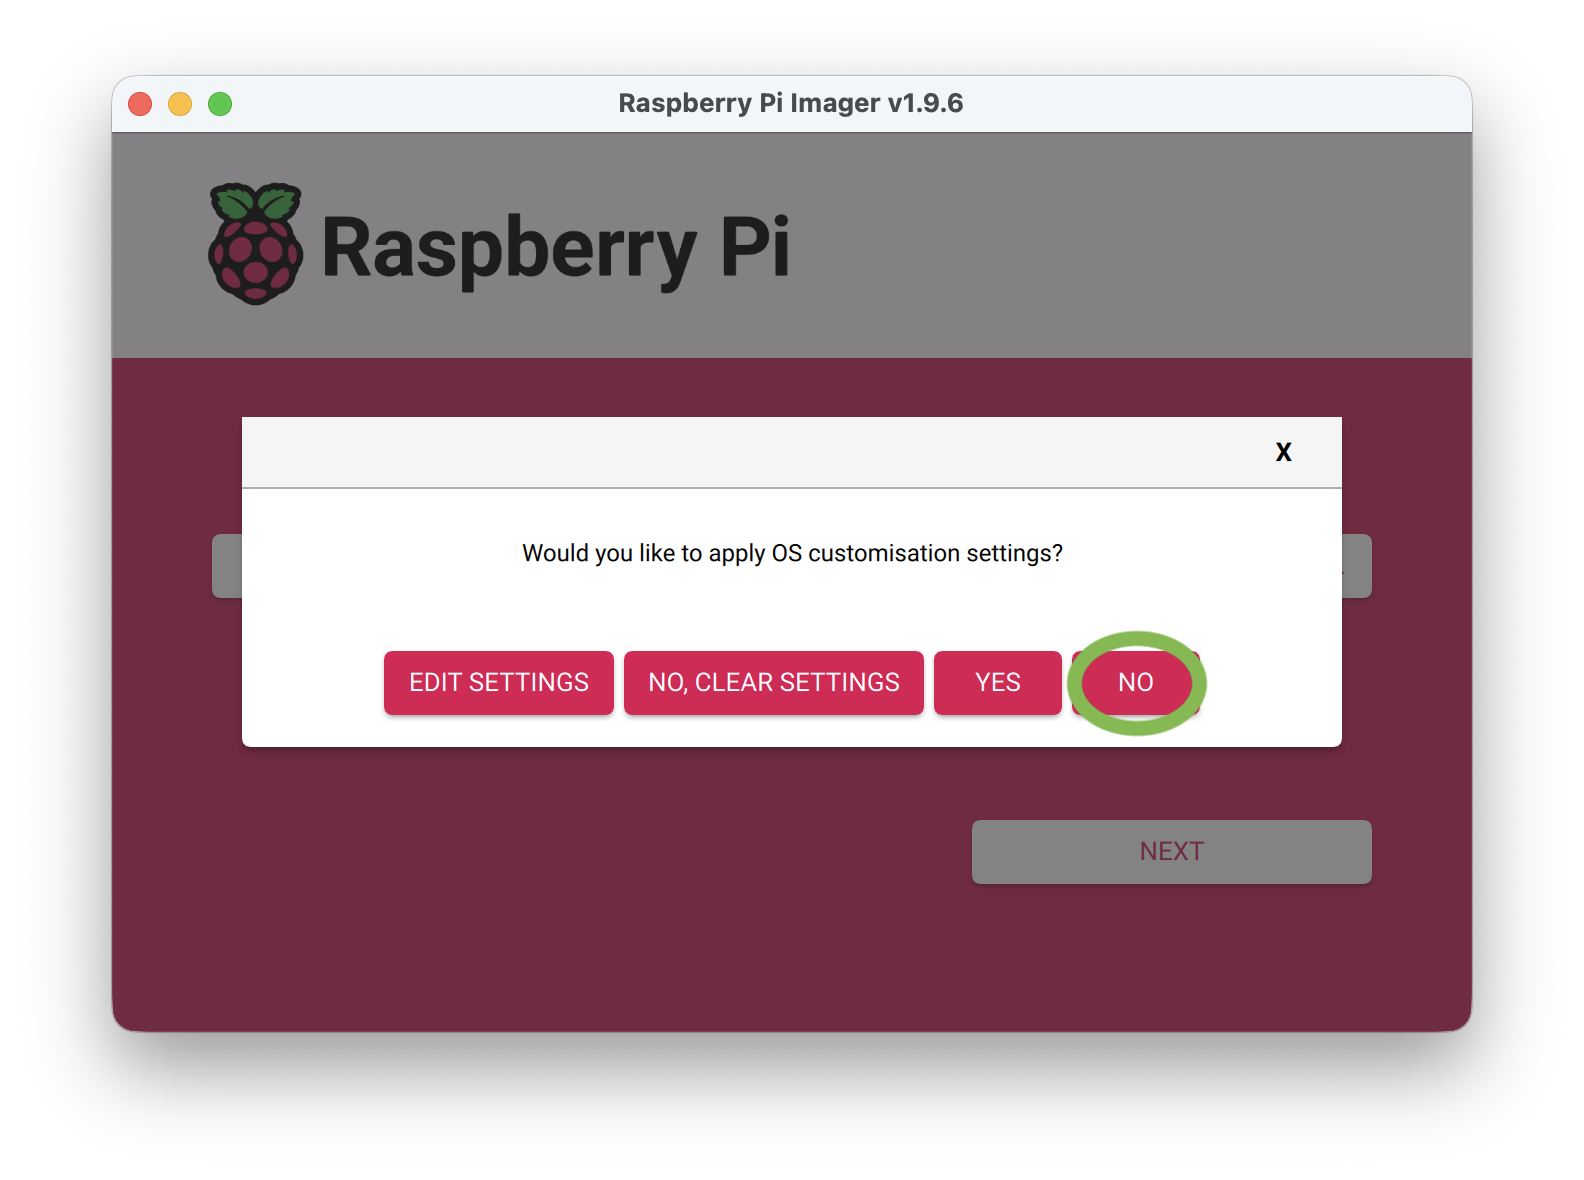
Click NEXT, then click NO when asked about applying OS customization settings.
-
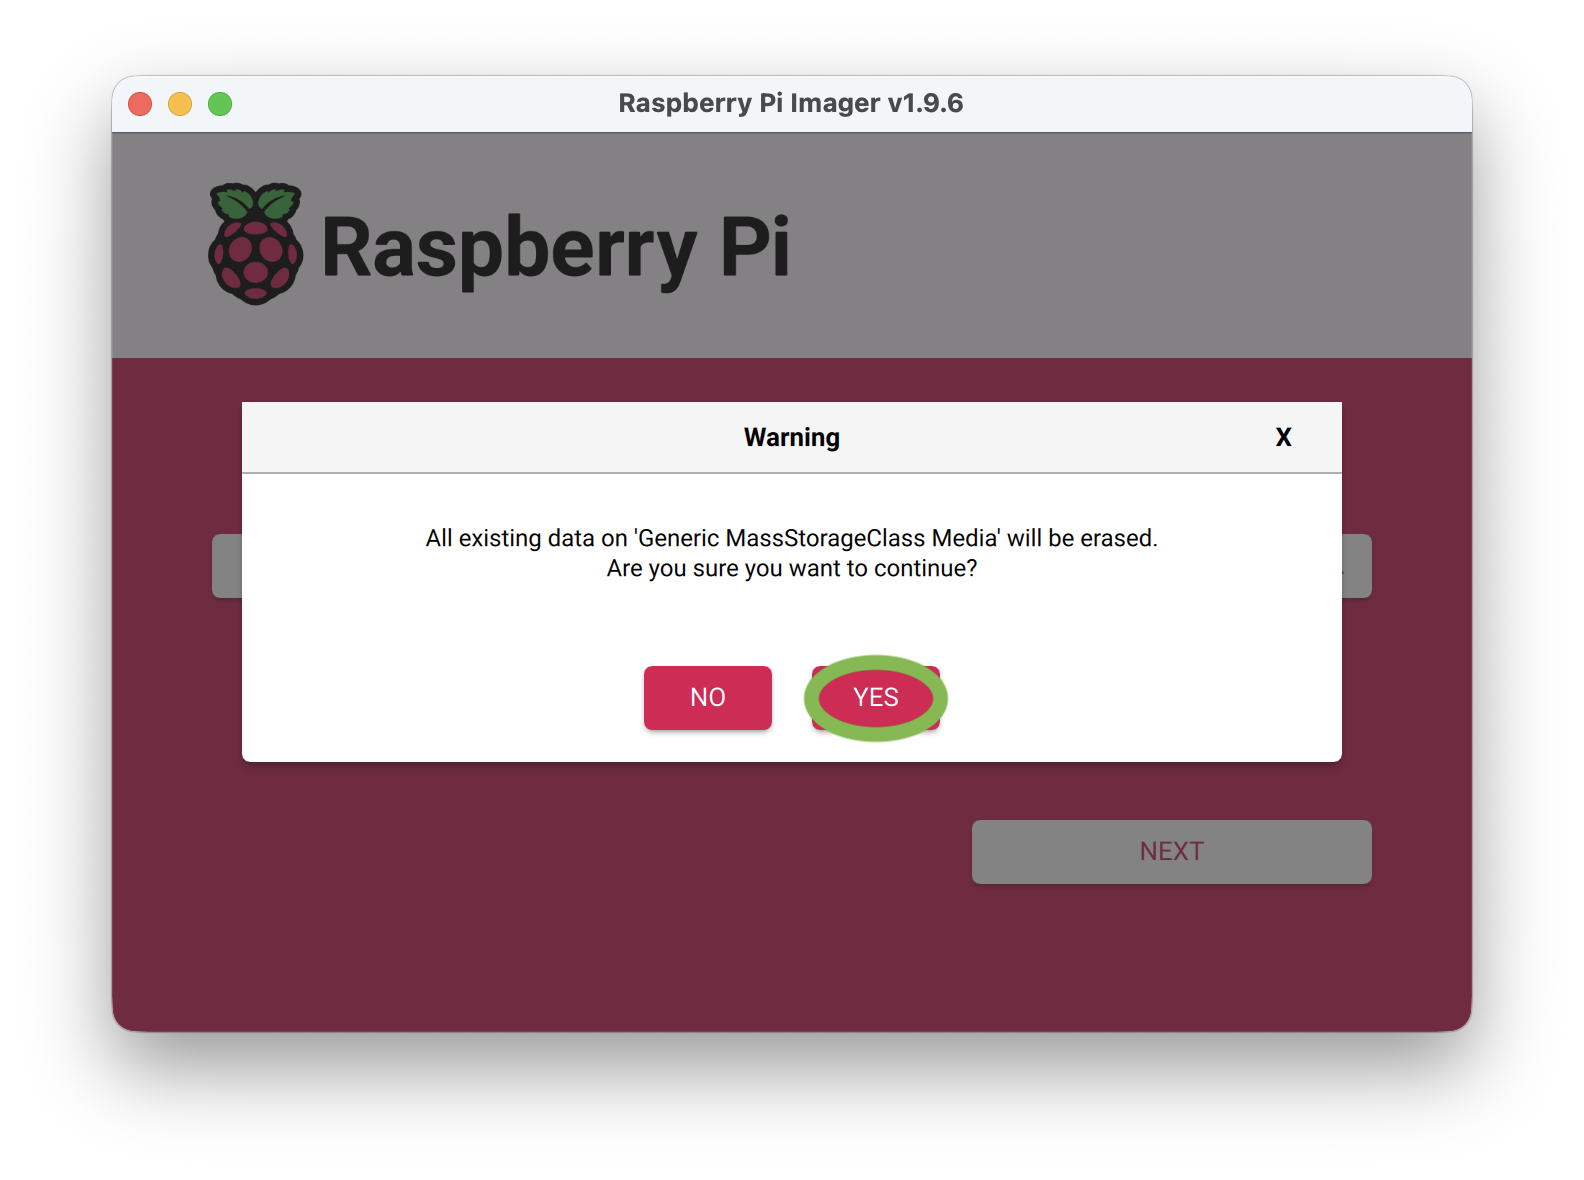
Click YES to write the firmware image to the microSD card. This will erase the existing contents of the microSD card.
-
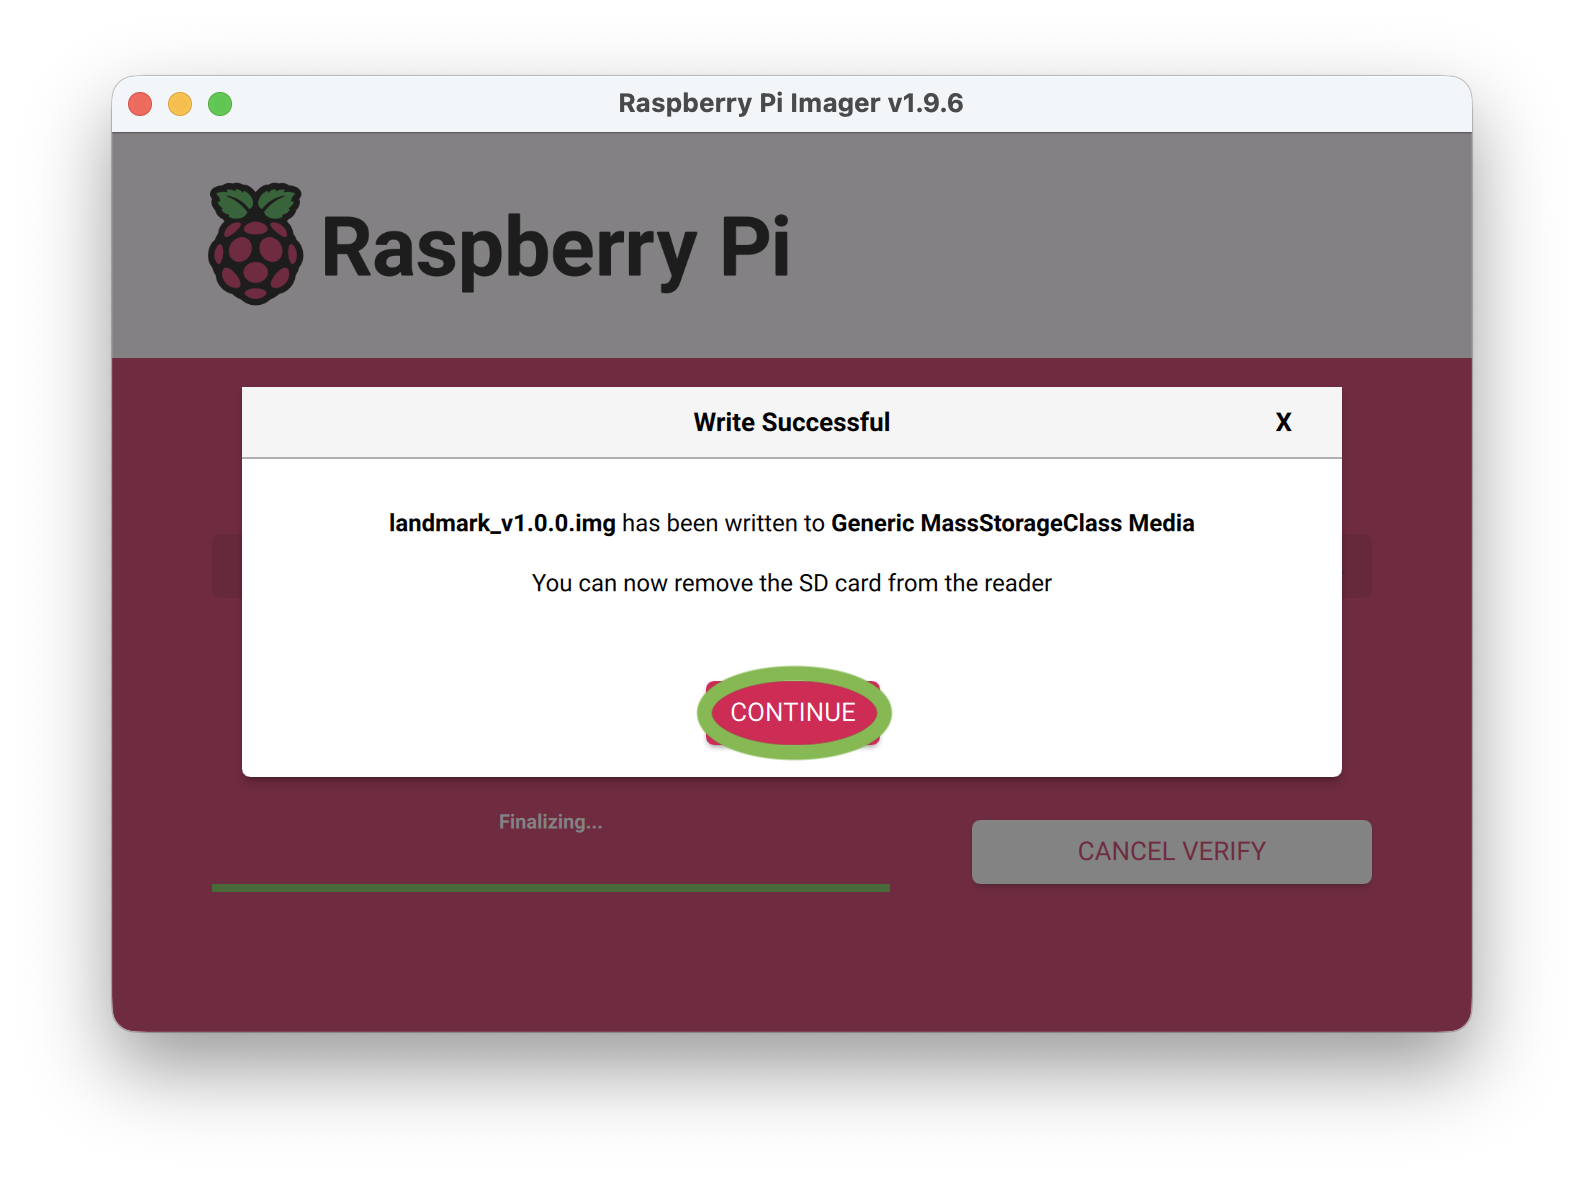
When the image has been written, click CONTINUE.
-
Remove and re-insert the microSD card into your computer.
The card is automatically ejected after writing, so it must be remounted before restoring the backed-up files. -
Copy the license file to
bootfs/landmark/license.json.
If upgrading from firmware v1.0.0, renamelandmark_license.jsontolicense.json. -
Copy any custom landing target JSON files to
bootfs/landmark/landing-targets/. -
Restore any user configuration:
- When upgrading from firmware v1.1.0 or later, reapply your custom settings to the new
config.toml. Do not replace the new file with the backed-up version, because available settings and defaults may have changed. - When upgrading from firmware v1.0.0, configure each custom landing target in
config.toml.
- When upgrading from firmware v1.1.0 or later, reapply your custom settings to the new
-
Eject the microSD card and insert it back into the Landmark module.
The firmware update is complete.